How to Integrate Gravity Forms Product Add-ons in WooCommerce


Gravity Form is versatile WordPress paid plugin designed for site owners, administrators, and developers. It empowers users to craft both straightforward and intricate forms for gathering data on their WordPress websites. The collected information can then be utilized according to the users’ preferences and requirements. Gravity Forms finds applications in creating contact forms, generating WordPress posts, developing calculators, facilitating employment applications, and more.
Its flexibility and functionality make it an invaluable tool for managing various types of data collection needs within the WordPress ecosystem. In this article, we’ll explore how to use Gravity Forms as a WooCommerce product with the help of Gravity Forms Product Add-ons.
Prerequisites:
- Gravity Forms Plugin Installed and Activated
- WooCommerce Plugin Installed and Activated
- WooCommerce Gravity Forms Product Add-Ons Installed and Activated
Benefits of using Gravity Forms
Gravity Forms is a powerful form builder plugin that allows users to create custom forms for their websites. With Gravity Forms, users can create contact forms, surveys, quizzes, and more. The plugin also includes a variety of features, such as conditional logic, file uploads, and payment integration. By integrating Gravity Forms with WooCommerce, users can create custom product pages, add custom fields to their product pages, and even create custom order forms.
How to install Gravity Forms plugin?
To start using Gravity Forms, you’ll need to install and activate the plugin. Here are the steps to install Gravity Forms:
- Step 1: Purchase the Gravity Forms plugin. Log in to your Gravity Forms dashboard and install the Gravity Forms plugin.
- Step 2: Log into your WordPress admin dashboard.
- Step 3: Hover over ‘Plugins’ on the left side of the admin menu and click on ‘Add New’.
- Step 4: At the top of this page, click on ‘Upload Plugin’. Then click on ‘Choose file’ and locate the zip file containing the add-on. Click the ‘Install Now’ button.
- Step 5: WordPress will automatically handle the unpacking and installation of your Gravity Forms add-on. Once complete, click on ‘Activate Plugin’ to activate it.
Finding and Entering Your License Key
When you purchase Gravity Forms, you will receive a license key that can be used within the Gravity Forms plugin.
- Log in to your Gravity Forms account and navigate to ‘Licenses’ to find your license key.
- Copy this key.
- Go to your Gravity Forms settings page in WordPress.
- Paste the key into the ‘Support License Key’ field.

After Purchasing Gravity Forms, First We Create a New Form
After activating Gravity Forms, you can create a new form. Let’s check the below steps for creating a new form.
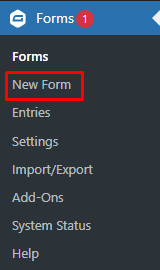
- Step 1: Go to ‘G Form’ in the dashboard sidebar menu and click on ‘New Form’.
Creating a New Form
- Log in to your WordPress admin dashboard.
- Look for the ‘Forms’ menu with the Gravity Forms “G” in the left-hand navigation area.
- Under the ‘Forms’ item, you will see an option that says ‘New Form’. Clicking on it will start the form creation process.
- Step 2: You will then be presented with a dialog box asking for the title and description of your new form.
You must give your form a name before you can begin, but you can change that name later if needed. The name is used so you can easily find your form later on.
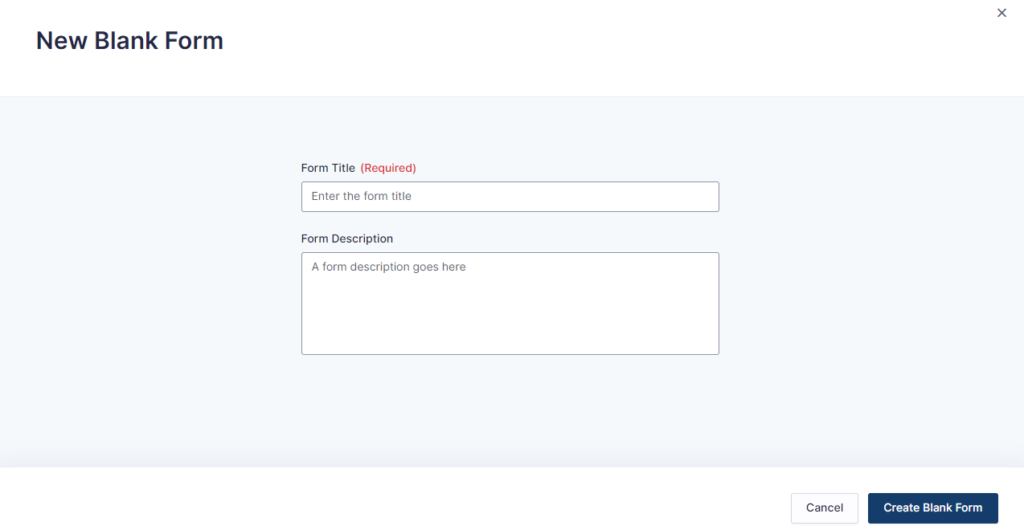
Once you’ve filled out the field(s), finalize by clicking the ‘Create Form’ button.
- Step 3: You will now be presented with a blank Form Editor screen, ready for your upcoming form masterpiece.

Downloading a Gravity Forms Add-On
- Pre-Requisite: To download an Add-On, you must have at least one active Gravity Forms license of the appropriate level. To see which Add-Ons are available with your license type, review the Add-Ons page. If you own multiple license types, you will have access to downloads based on the highest level of active license you own.
- Downloading an Add-On: To download an Add-On from the Gravity Forms website, navigate to the Gravity Forms account login page and log in with your Gravity Forms credentials. Then click on ‘Downloads’ in the submenu to see all the files available for download.
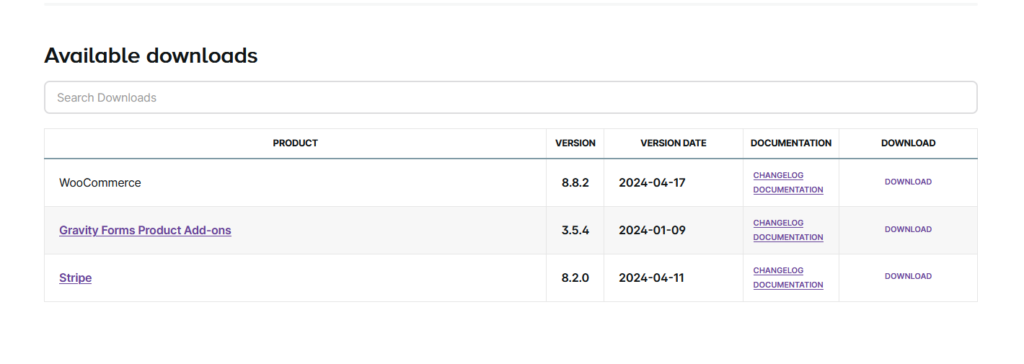
After purchasing WooCommerce Gravity Forms Product Add-Ons, proceed with the download
Installing Gravity Forms Add-Ons using the WordPress Dashboard
- Step 1: Download the zip file for your desired add-on. Access the Gravity Forms Add-On download page, click on the add-on that you want to install, and download the zip file for it.
- Step 2: Log into your WordPress admin dashboard.
- Step 3: Hover over ‘Plugins’ on the left side of the admin menu and click on ‘Add New’.
- Step 4: At the top of this page, click on ‘Upload Plugin’. Then click on ‘Choose file’ and locate the zip file containing the add-on. Click the ‘Install Now’ button.
- Step 5: WordPress will automatically handle the unpacking and installation of your Gravity Forms add-on. Once complete, click on ‘Activate Plugin’ to activate it.
Using Gravity Form as a WooCommerce Product
Gravity Forms integrates seamlessly with WooCommerce, allowing you to create custom forms for your e-commerce site. Here’s how to use Gravity Forms as a WooCommerce product:
- Step 1: Click on ‘Products’ on Your WordPress Dashboard
- Navigate to your WordPress dashboard and click on ‘Products’ in the left-hand menu.
- Step 2: Click on ‘Add New’
- Click on the ‘Add New’ button to create a new product.
- Step 3: Add Product Name
- Enter the name of your product in the ‘Product Name’ field.
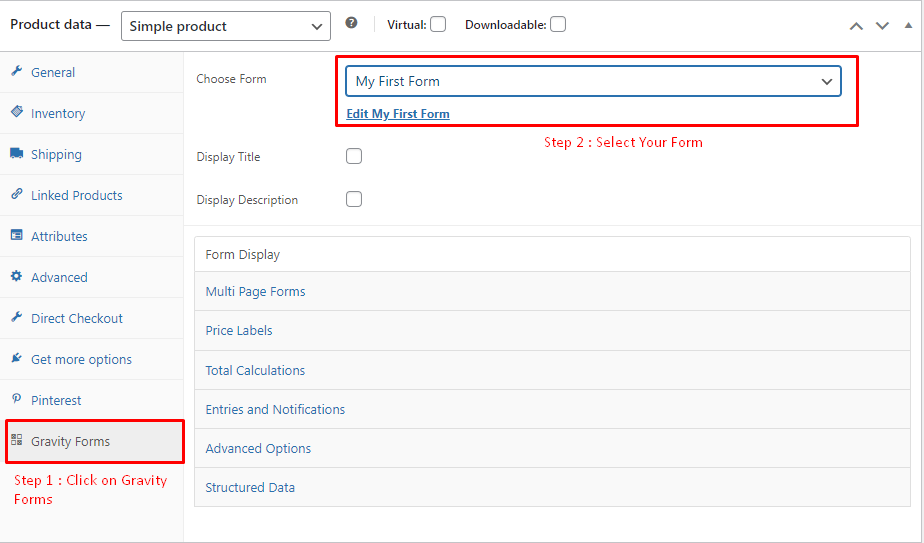
- Step 4: Link Gravity Form to WooCommerce Product
- 1. In the ‘Product Data’ section, select ‘Gravity Form’ from the dropdown.
- 2. Choose the Gravity Form you want to use as the product from the list.
- 3. Fill in other product details like price, description, etc.
- 4. Click ‘Publish’ to make the product available in your shop.
Note: If You Use Gravity Form as a Product and Want to Skip the Cart Page Process, Follow the Steps Below.
How to Skip the Cart Page in WooCommerce Using a Plugin
Here’s steps to skip the cart page in WooCommerce using a plugin:
- Step 1: Go to your WordPress Dashboard > Plugins
- Step 2: Click on ‘Add New’ > search for “Direct checkout for WooCommerce.”
- Step 3: Click ‘Install Now’ and then ‘Activate’
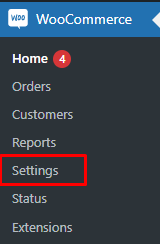
- Step 4: Navigate to the WooCommerce Settings
- 1. Go to your WordPress Dashboard.
- 2. Click on ‘WooCommerce’ in the left-hand menu.
- 3. Click on ‘Settings’.
- Step 5: Navigate to the ‘Direct Checkout’ tab and select ‘Yes’ from the ‘Added to cart redirect’ option.
- Step 6: A new option will appear “Added to cart redirect to”. From there, select the ‘Checkout’ page
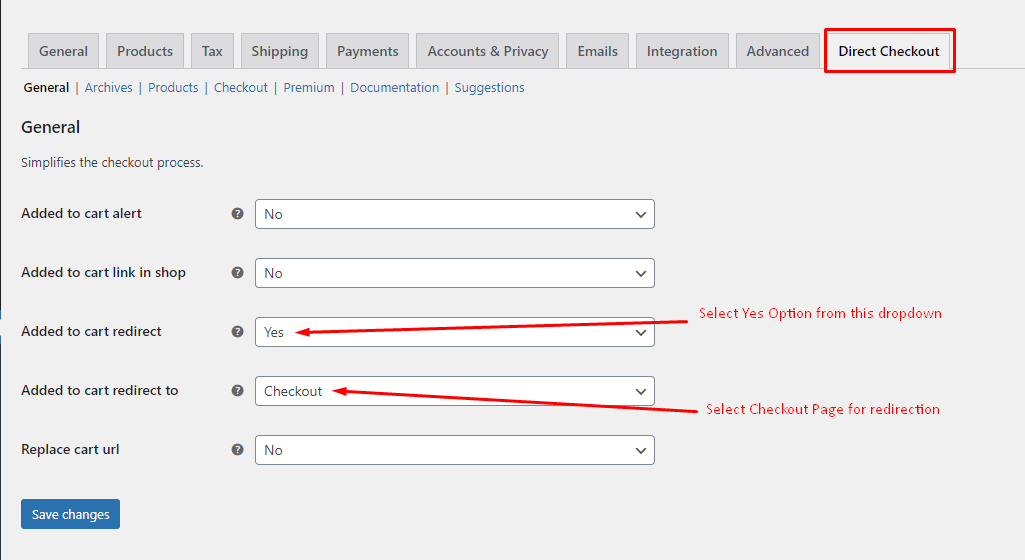
- Step 7: Once you’ve saved the changes, test it by clicking the ‘Add to cart’ button on any product in your store. You should be redirected to the checkout page instead of the cart page.
So, in the above tutorial, we have learned about how to use Gravity Form as a WooCommerce Product and how to skip the cart page using a plugin.
If you’re searching for options and need expert assistance in setting everything up smoothly. Our team of WordPress developer is here to assist you through every step of the way. From setting up Gravity forms to integrating products add-on, Our developers understand the ins and outs of these form specialize in turning Gravity Forms into seamless WooCommerce products, ensuring your customers get the best experience possible.
I'm currently a WordPress & Shopify developer at Samarpan Infotech, I'm passionate about web development. Beyond coding, I have a curious mind for world affairs and geopolitics, while also enjoying the occasional chess match in my spare time.