How to Resolve the “The Link You Followed Has Expired” Error in WordPress

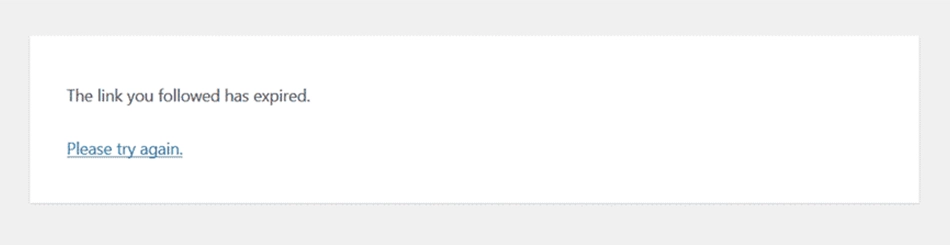
If you’re a WordPress user, you may have encountered the frustrating “Link You Followed Has Expired” error. This message typically appears when you attempt to upload files or install plugins and themes, especially when they exceed certain size limits. While this issue can be annoying, it’s usually straightforward to resolve.
In this guide, we will explore what causes this error and provide practical solutions to help you resolve it and prevent it from happening again. Let’s get started!
Why does the link you followed has expired error occur in WordPress?
This error is typically seen during the upload of a theme, plugin, or media file that exceeds the maximum file size limit set by your web host. WordPress often uses this generic error message when it cannot complete an action due to such limitations.
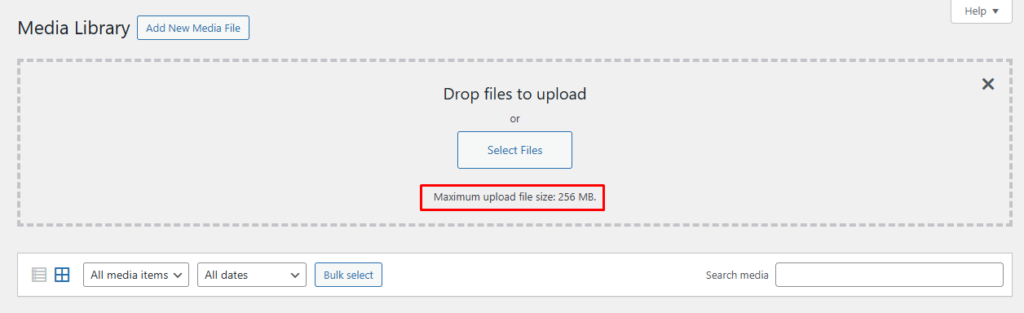
By default, many hosting providers set a relatively small upload file size limit to conserve resources. While this works for basic setups, advanced themes or high-resolution media files often requires larger limits.
5 Methods to Fix The Link You Followed Has Expired Error
There are several ways to resolve this issue by increasing the upload size and execution time limits. Let’s explore the most effective methods:
1. Update the Limits in the functions.php File
The functions.php file is where your WordPress theme’s core functionalities reside. You can use it to override default settings like file size limits.
How to Update Limits
- Log in to your WordPress dashboard.
- Navigate to Appearance → Theme File Editor.
- Open the functions.php file for your active theme.
- Add the following code snippet at the bottom:
@ini_set('upload_max_size', '128M');
@ini_set('post_max_size', '128M');
@ini_set('max_execution_time', '300');
Explanation of the code:
- upload_max_size sets the maximum upload file size to 128MB.
- post_max_size adjusts the maximum size of a single post to 128MB.
- max_execution_time extends the script execution limit to 300 seconds.
Note: Always use a child theme for such modifications to avoid losing changes during theme updates.
2. Edit the .htaccess File
The .htaccess file is a powerful configuration file used for server-level settings. You can find it in the root directory of your WordPress installation.
How to Edit htaccess
- Access Your Site via FTP or File Manager: Use an FTP client (like FileZilla) or your hosting provider’s file manager.
- Locate .htaccess: Find the .htaccess file in your WordPress root directory.
- Backup Your File: Before making changes, download a copy of your .htaccess file as a backup.
- Edit .htaccess: Open the file and add these code at the end:
php_value upload_max_filesize 128M
php_value post_max_size 128M
php_value max_execution_time 300
php_value max_input_time 300
Explanation of the code:
- Increase the upload and post size limits to 128MB.
- Allow scripts and data parsing up to 300 seconds.
Note: Incorrect edits to .htaccess can break your site. Always back up this file before making changes.
3. Modify the php.ini File
The php.ini file controls your PHP settings, including memory allocation and execution times. Increasing the limits here can solve upload issues.
How to Modify php.ini
- Locate php.ini: Access your server via FTP or your hosting control panel and look for the php.ini file in your root directory or in a folder specific to PHP configurations.
- Backup Your File: Always create a backup before making changes.
- Edit php.ini: Open it and Add the following code at the end of the file:
upload_max_filesize = 128M
post_max_size = 128M
max_execution_time = 300
max_input_time = 300
Save the changes and, if necessary, restart your server for them to take effect.
Note: If you don’t find php.ini, create a new file in the root directory with the above configurations.
4. Update Your PHP Version
Using an outdated version of PHP can lead to various issues, including errors related to file uploads. Updating to a more recent version can improve performance and security.
How to Update PHP Version
- Check your current PHP version under Tools → Site Health → Info → Server.
- Log in to your hosting dashboard and navigate to the PHP settings.
- Select the latest stable version compatible with your WordPress setup.
Always back up your site before updating PHP and test your site thoroughly afterward to ensure compatibility.
5. Check for Plugin Conflicts
Sometimes, conflicting plugins can trigger this error. To rule out this possibility:
Steps to Check Compatibility
- Deactivate All Plugins: Go to Plugins > Installed Plugins, select all plugins, and deactivate them.
- Test Uploading Again: Try uploading your files again to see if the error persists.
- Reactivate Plugins One by One: If uploading works without plugins activated, reactivate them one at a time while testing uploads after each activation.
If a plugin is causing the issue, update it. If you need developer assistance assistance, feel free to contact us.
For safer troubleshooting, use a staging site.
Preventing the Error in the Future
Once you’ve resolved the “Link You Followed Has Expired” error, it’s essential to take steps to prevent it from recurring.
- Regularly Monitor Upload Limits: Keep an eye on your upload limits and adjust them as necessary based on your site’s needs.
- Keep WordPress Updated: Ensure that WordPress core, themes, and plugins are always updated to their latest versions.
- Use Reliable Hosting Services: Choose hosting providers that offer good support for WordPress and allow easy adjustments of server settings.
- Optimize Media Files Before Uploading: Consider compressing images and files before uploading them to reduce their size.
Conclusion
Encountering the “Link You Followed Has Expired” error in WordPress can be frustrating, but it’s usually easy to fix. By updating settings in your functions.php, .htaccess, and php.ini files, checking your PHP version, and ensuring plugin compatibility, you can resolve this issue.
If you’re still facing this error or need technical assistance for your WordPress site, our experienced WordPress developers is here for you. We can assist you in resolving issues and improving your website’s performance. Whether you need help troubleshooting errors, installing plugins, or optimizing your site, we’re ready to support you every step of the way. Don’t hesitate to contact us today for expert assistance.
I am working as a WordPress & Squarespace Developer at Samarpan Infotech, My expertise encompasses a wide range of skills, theme customization, plugin integration, API Integration. I strongly believe in the motto, "Success is not the key to happiness, happiness is the key to success; if you love what you are doing, you will be successful.